

 Europe / English
 Africa / English
 France / Français
 Latin America / Español
 India / English
 APAC / English
 US / English
Guest Blog Post by Monica Pretzl
Changing Your Own Motorcycle Oil is Quick and Easy
Regular motorcycle oil changes will extend the life of your engine, and keep your bike running smoothly all season. Changing your own motorcycle oil is easy to do, and it saves you time and money. We broke down the process into step-by-step directions for both beginners and experienced riders.
Before beginning, you will need some basic supplies, and you must know what type of oil is best for your bike. Always be sure to consult your owner’s manual to ensure you have the correct tools.
Required Supplies:
- High-quality motorcycle oil – AMSOIL has a helpful easy-to-use guide for finding the right oil for your bike
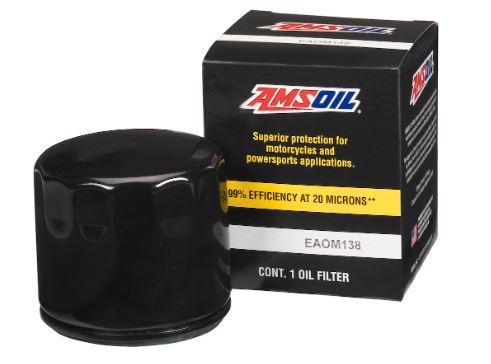
- New oil filter
- Drain pan and funnel
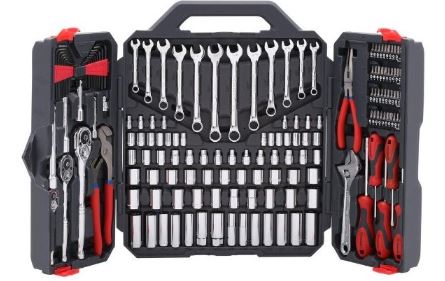
- A set of box or socket wrenches
- Clean cloths and gloves
Recommended Supplies:
- A motorcycle lift table to bring the bike up to more accessible height
- Torque wrench
Pro-Tip
You may want to take your bike out for a quick 10 minute ride to heat up the oil, which will help it drain faster. However, if you’re a beginner, we recommend changing the oil cold a few times to avoid the risk of burning yourself.
How to Perform an Oil Change
1. Clean Your Work Area
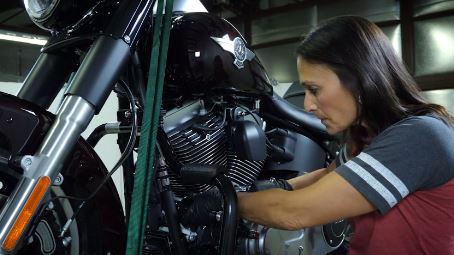
Before you get started, make sure the oil change area is clean and free of dust and other contaminants.

access the oil fliter, fill and drain plugs.
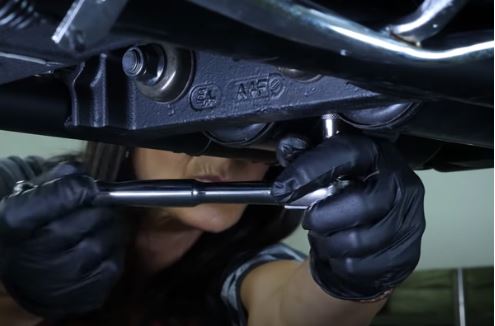
2. Access the Drain Plug and Oil Filter
Next, remove any parts that may be blocking your access to the drain plug and filter (some bikes may require you to remove the foot peg or fairing).
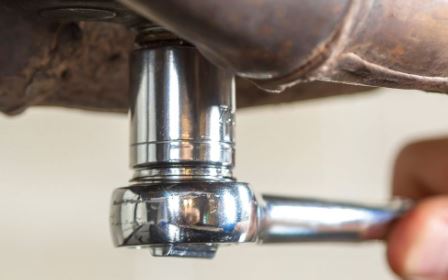
with a box or socket wrench.
3. Now, drain the Oil
Once you’ve got clear access, place your drain pan underneath the drain plug to catch the old motorcycle oil. Using your wrenches, remove the oil fill plug first, then remove the drain plug.

oil filter base
4. Remove the Oil Filter
While the old motorcycle oil is draining, remove the old filter. If your bike uses a spin-on oil filter: Simply unscrew the filter. If it does not come off by hand, invest in a special oil filter wrench to help remove it. If your bike uses a cartridge-type oil filter: Tools and procedure required for removal may vary. Refer to your owner’s manual.
5. Install the New Oil Filter
With a clean cloth, wipe down the area of the engine where the oil filter’s gasket will make contact. Then use your finger to spread some of the new oil on the gasket. This will help create a good seal. If your bike uses a spin-on type oil filter: Install the new oil filter by hand. Never use an oil filter wrench to install the filter, as this can overtighten it. The filter should be tight, but still removable by hand. If your bike uses a cartridge-type oil filter: Tools may be necessary to reinstall the oil filter cover. Refer to your owner’s manual for instruction.
6. Reinstall the Drain Plug
Let the old motorcycle oil drain until the stream has reduced to a dribble. Expect this to take anywhere from 5 to 10 minutes. Reinstall the oil drain plug. Screw it in by hand first to reduce the risk of cross-threading. If you encounter resistance before a significant portion of the plug has been screwed in, back it out and try again. Once the plug is in place, use a torque wrench set to the manufacturer’s torque specifications (again, refer to the owner’s manual) to finish tightening it. If you do not have a torque wrench, give the plug an additional quarter to a half turn with a box wrench or socket wrench. Do not overtighten.
and drain plug are installed.
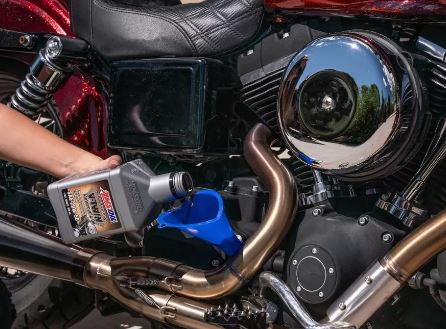
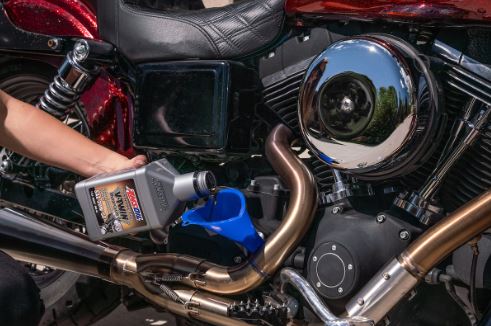
7. Add New Motorcycle Engine Oil
To refill your oil tank, refer to your owner’s manual to see how much motorcycle oil is required. Using the funnel, add most of the motorcycle oil. Stop periodically to check the motorcycle oil level. Depending on the bike, you can check the motorcycle oil level via a sight glass on the side of the engine or a dipstick. Make sure that the motorcycle is level when checking the oil. Add enough motorcycle oil to so that the level is between the “Add” and “Full” marks in the sight glass or on the dipstick. If the oil goes over “Full,” refer back to step 3 to drain out the excess oil.
 8. Properly Dispose of the Used Oil and Filter
Once it’s filled, reinstall the oil fill plug and clean up. Make sure to dispose of your used oil and filter properly (many local dumps or auto parts stores will take used oil and recycle it). Run the engine to check for any leaks, then double check your motorcycle oil levels. Add or remove oil if necessary.
With some practice, changing your motorcycle oil is a quick easy process that can be done from the convenience of your own garage.
Monica Pretzl writes for Discount Ramps, a company with over a decade of experience providing motorbike enthusiasts with premium quality motorcycle accessories at affordable prices. From loading ramps and carriers, to lifts, jacks, stands, and other service equipment, the Discount Ramps professionals are committed to helping you maintain your bike year round.